HOME | TOC | ABOUT | UPDATES | MAP | DISCLAIMER | CONTACT | AWARDS | LINKS
Photo Gallery
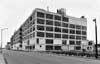
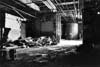
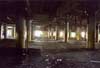
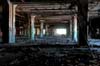
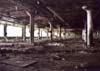
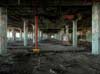
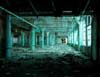
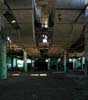
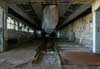
This selection of thirty-three photographs provides a good general view of how Fisher Body 21 now appears.